L0 Kit Assembly Guide
Have you recently purchased the home game console kit ? In this guide we will show you how to assemble your new device.
If your device is already assembled, check out the setup guide instead which shows you how to prepare the software on your device.
We’ve made this kit easy to install. The only tool you need is a screwdriver. If at any point you’re having trouble, either send us an email or come ask us on our Discord server.
Parts Needed
- L0 Kit (Preassembled)
- Compute Module (not included). Make sure to get a module without onboard storage (lite) , as this prevents the Micro SD card from working.
- A small Phillips (+) screwdriver. If you don’t have one already, we like the tools from iFixit. Here’s the one we use.
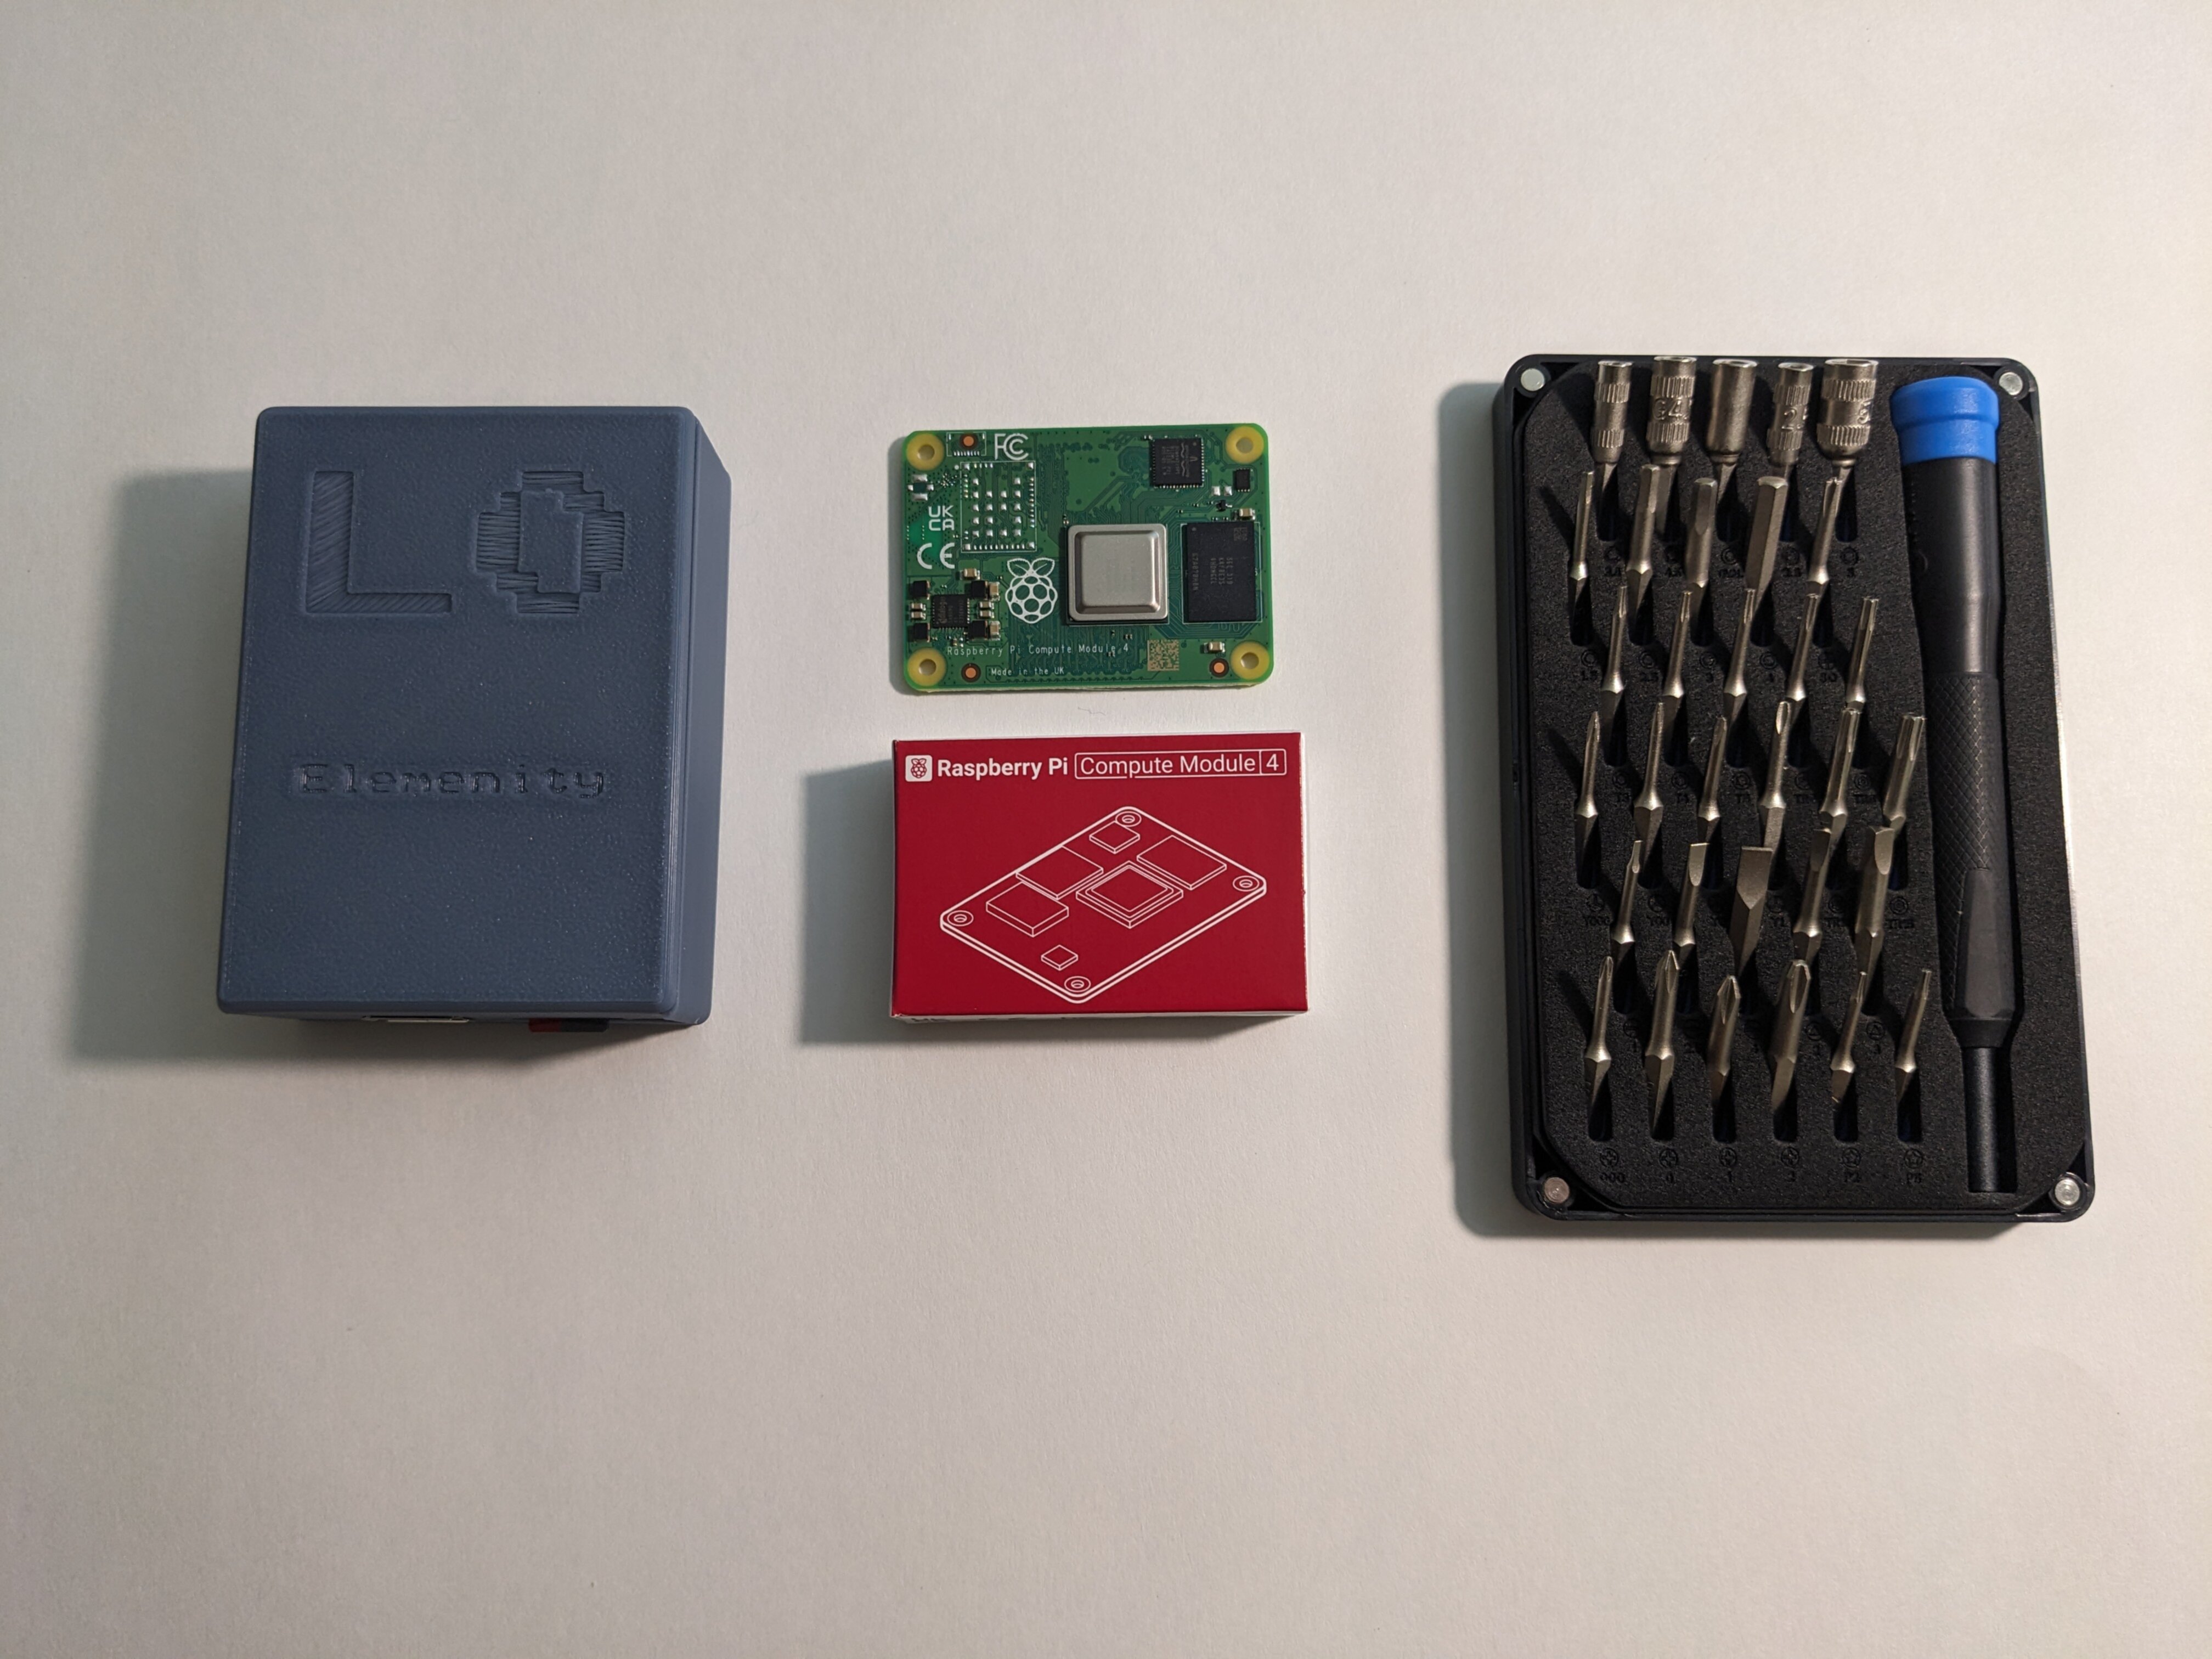
Needed for testing
- Power supply & Cable (included in kit)
- HDMI Display
- HDMI Cable
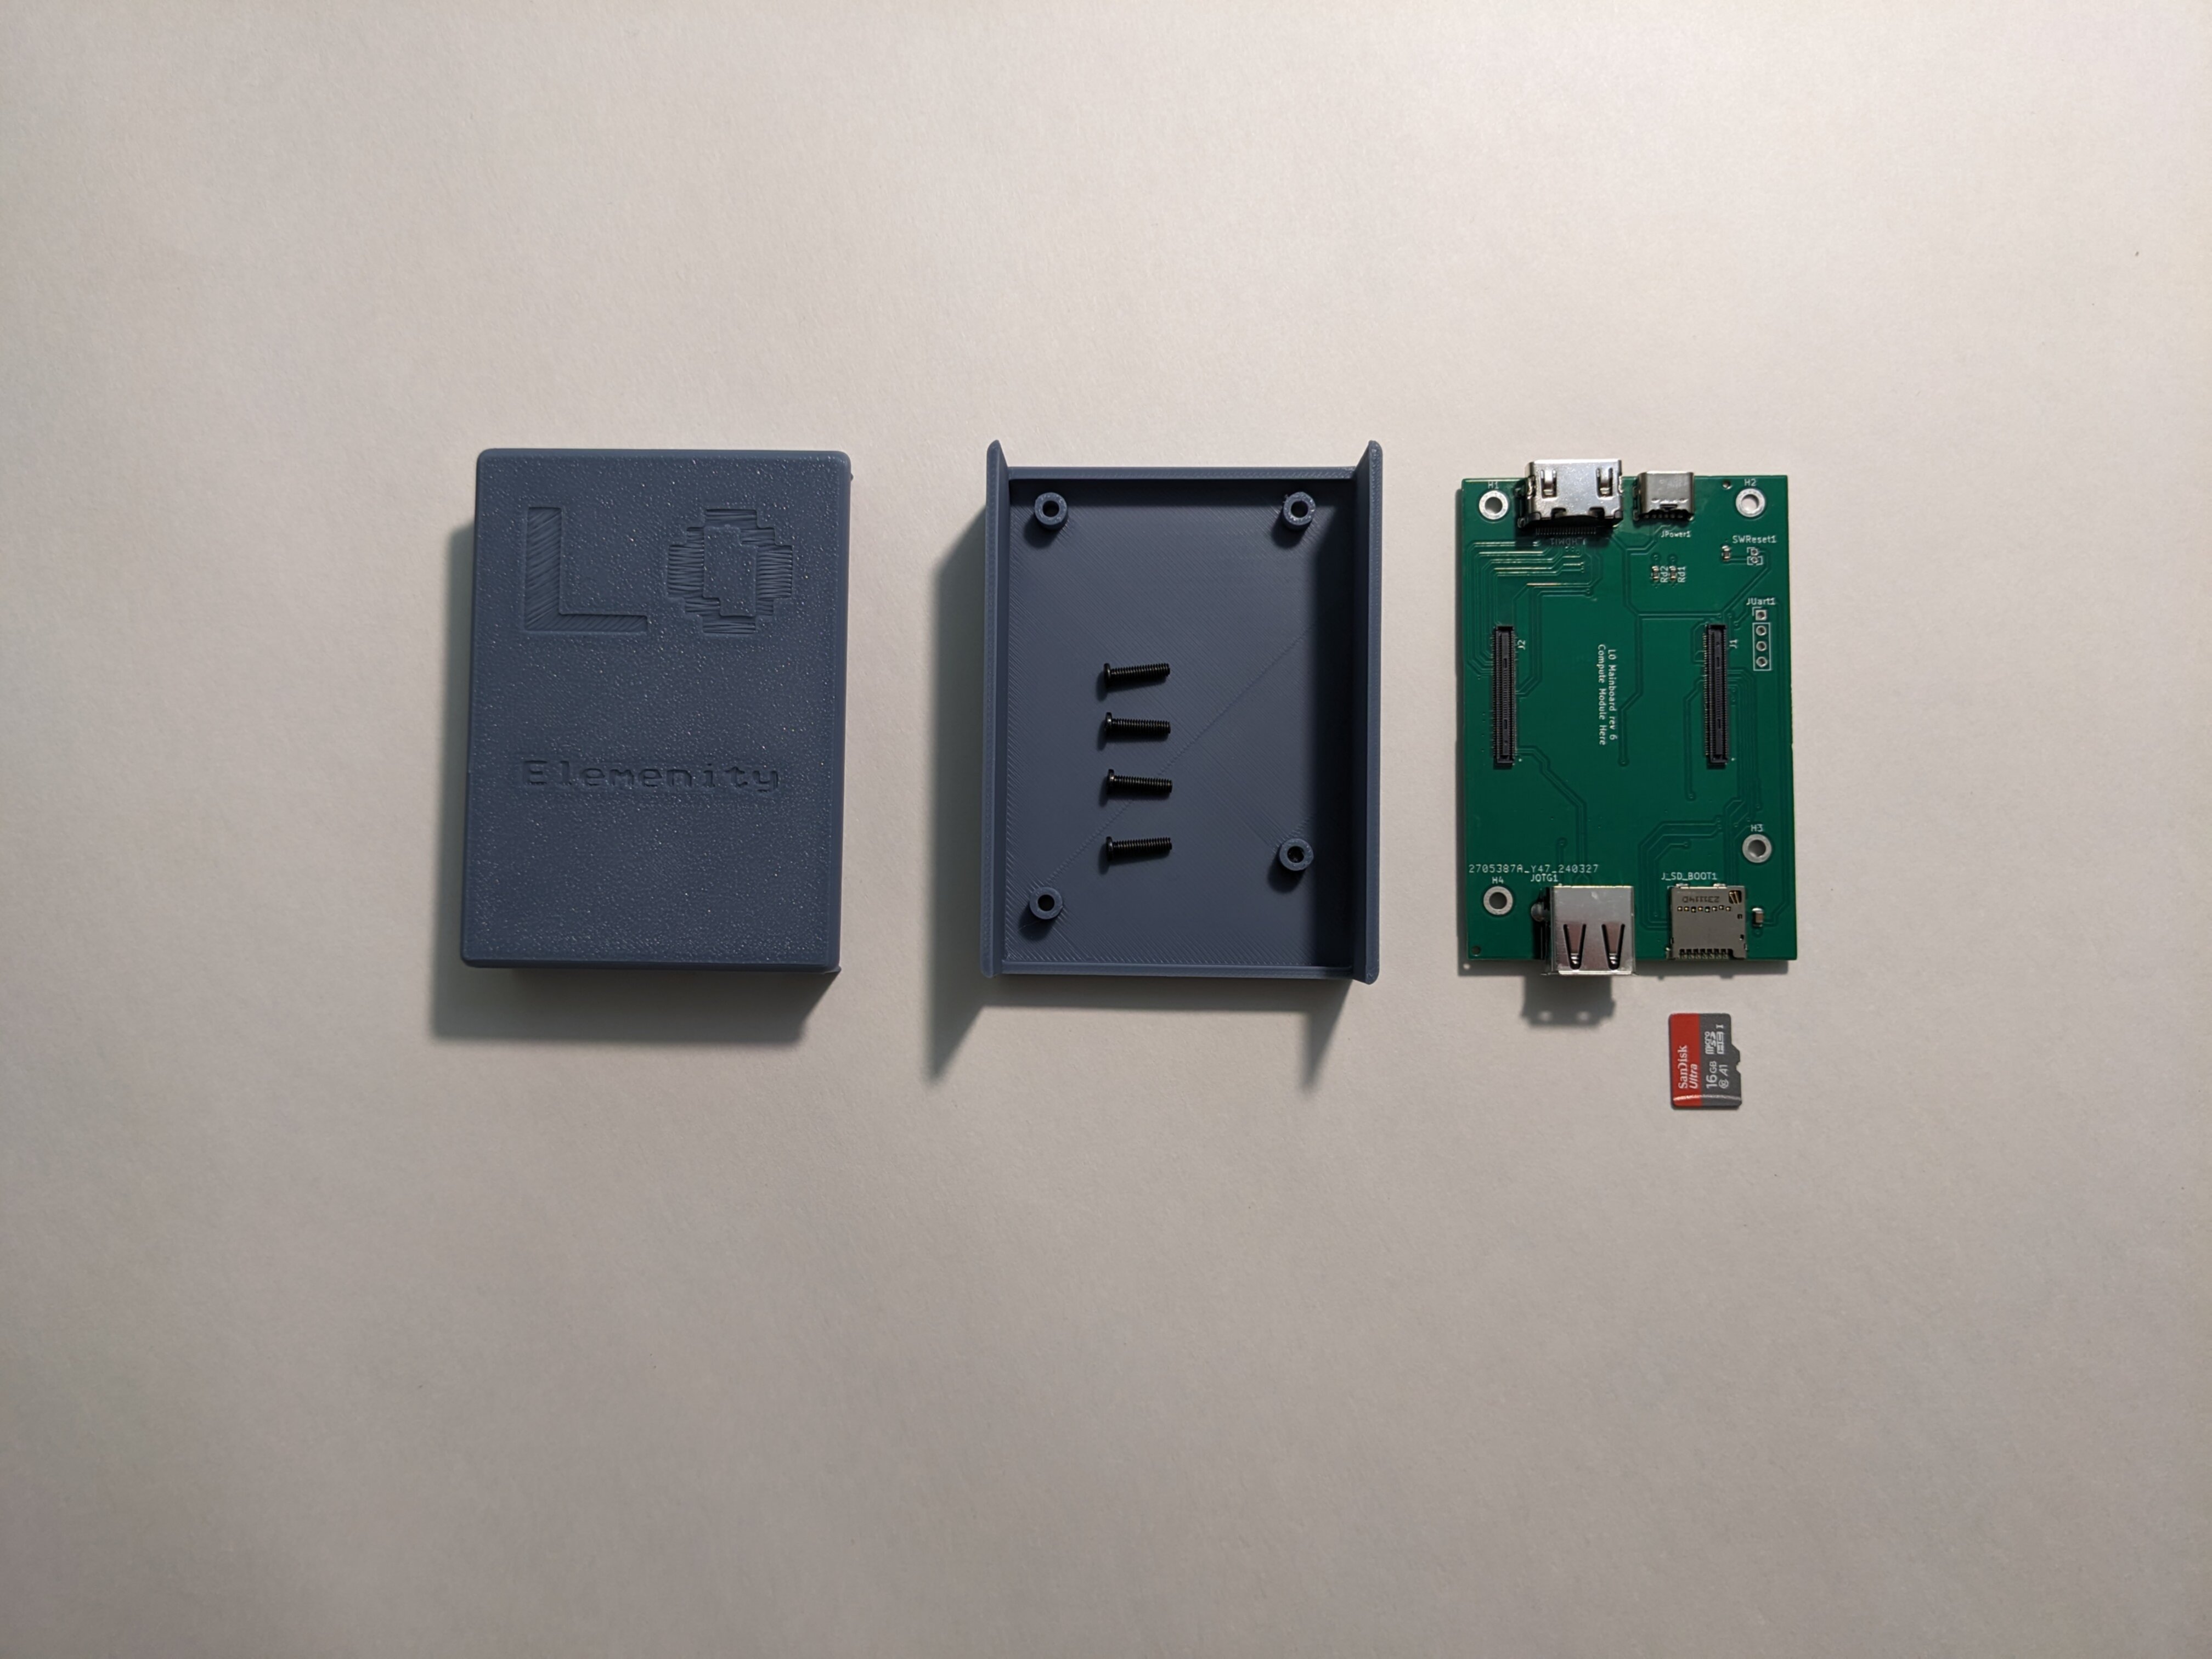
Step 1: Disassembly
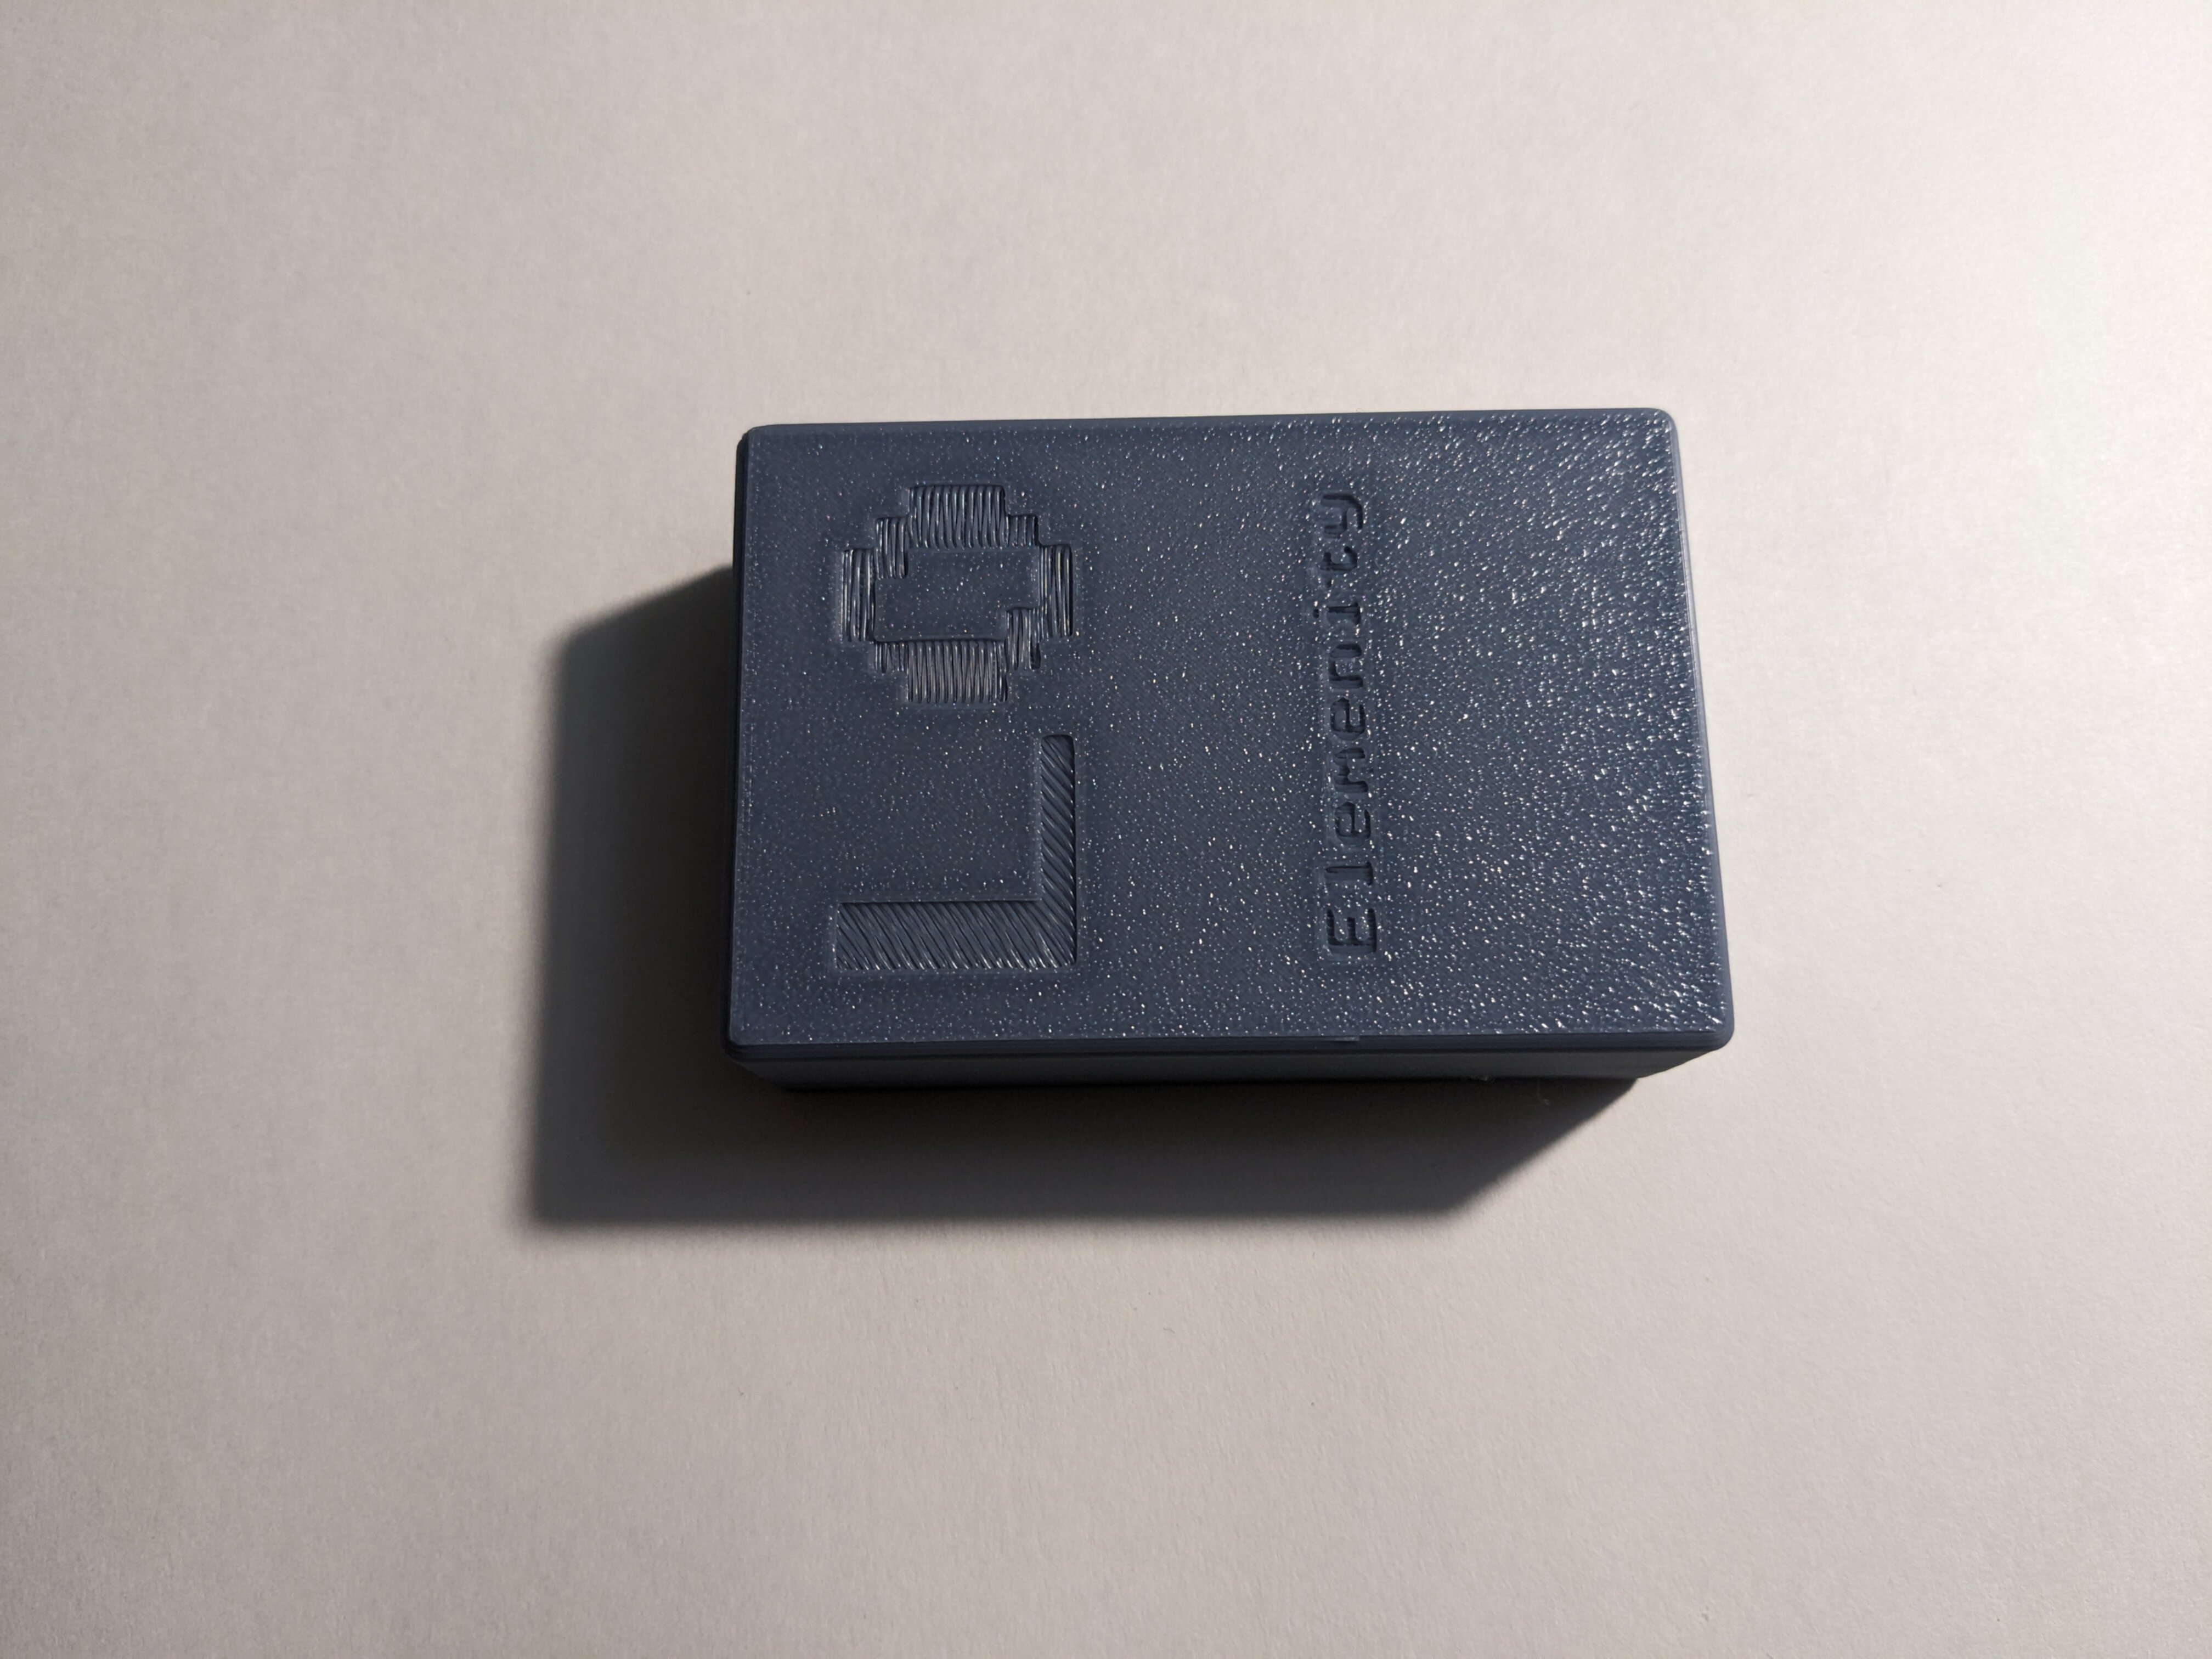
The L0 Kit comes pre-assembled, so that the components are protected during shipping. In order to install your compute module, you’ll need to take the case apart, Rest the device on its top side (the one with the logo), then unscrew each of the 4 Phillips (+) screws.
When you’re done you should have this:
Step 2: Installing the Compute Module
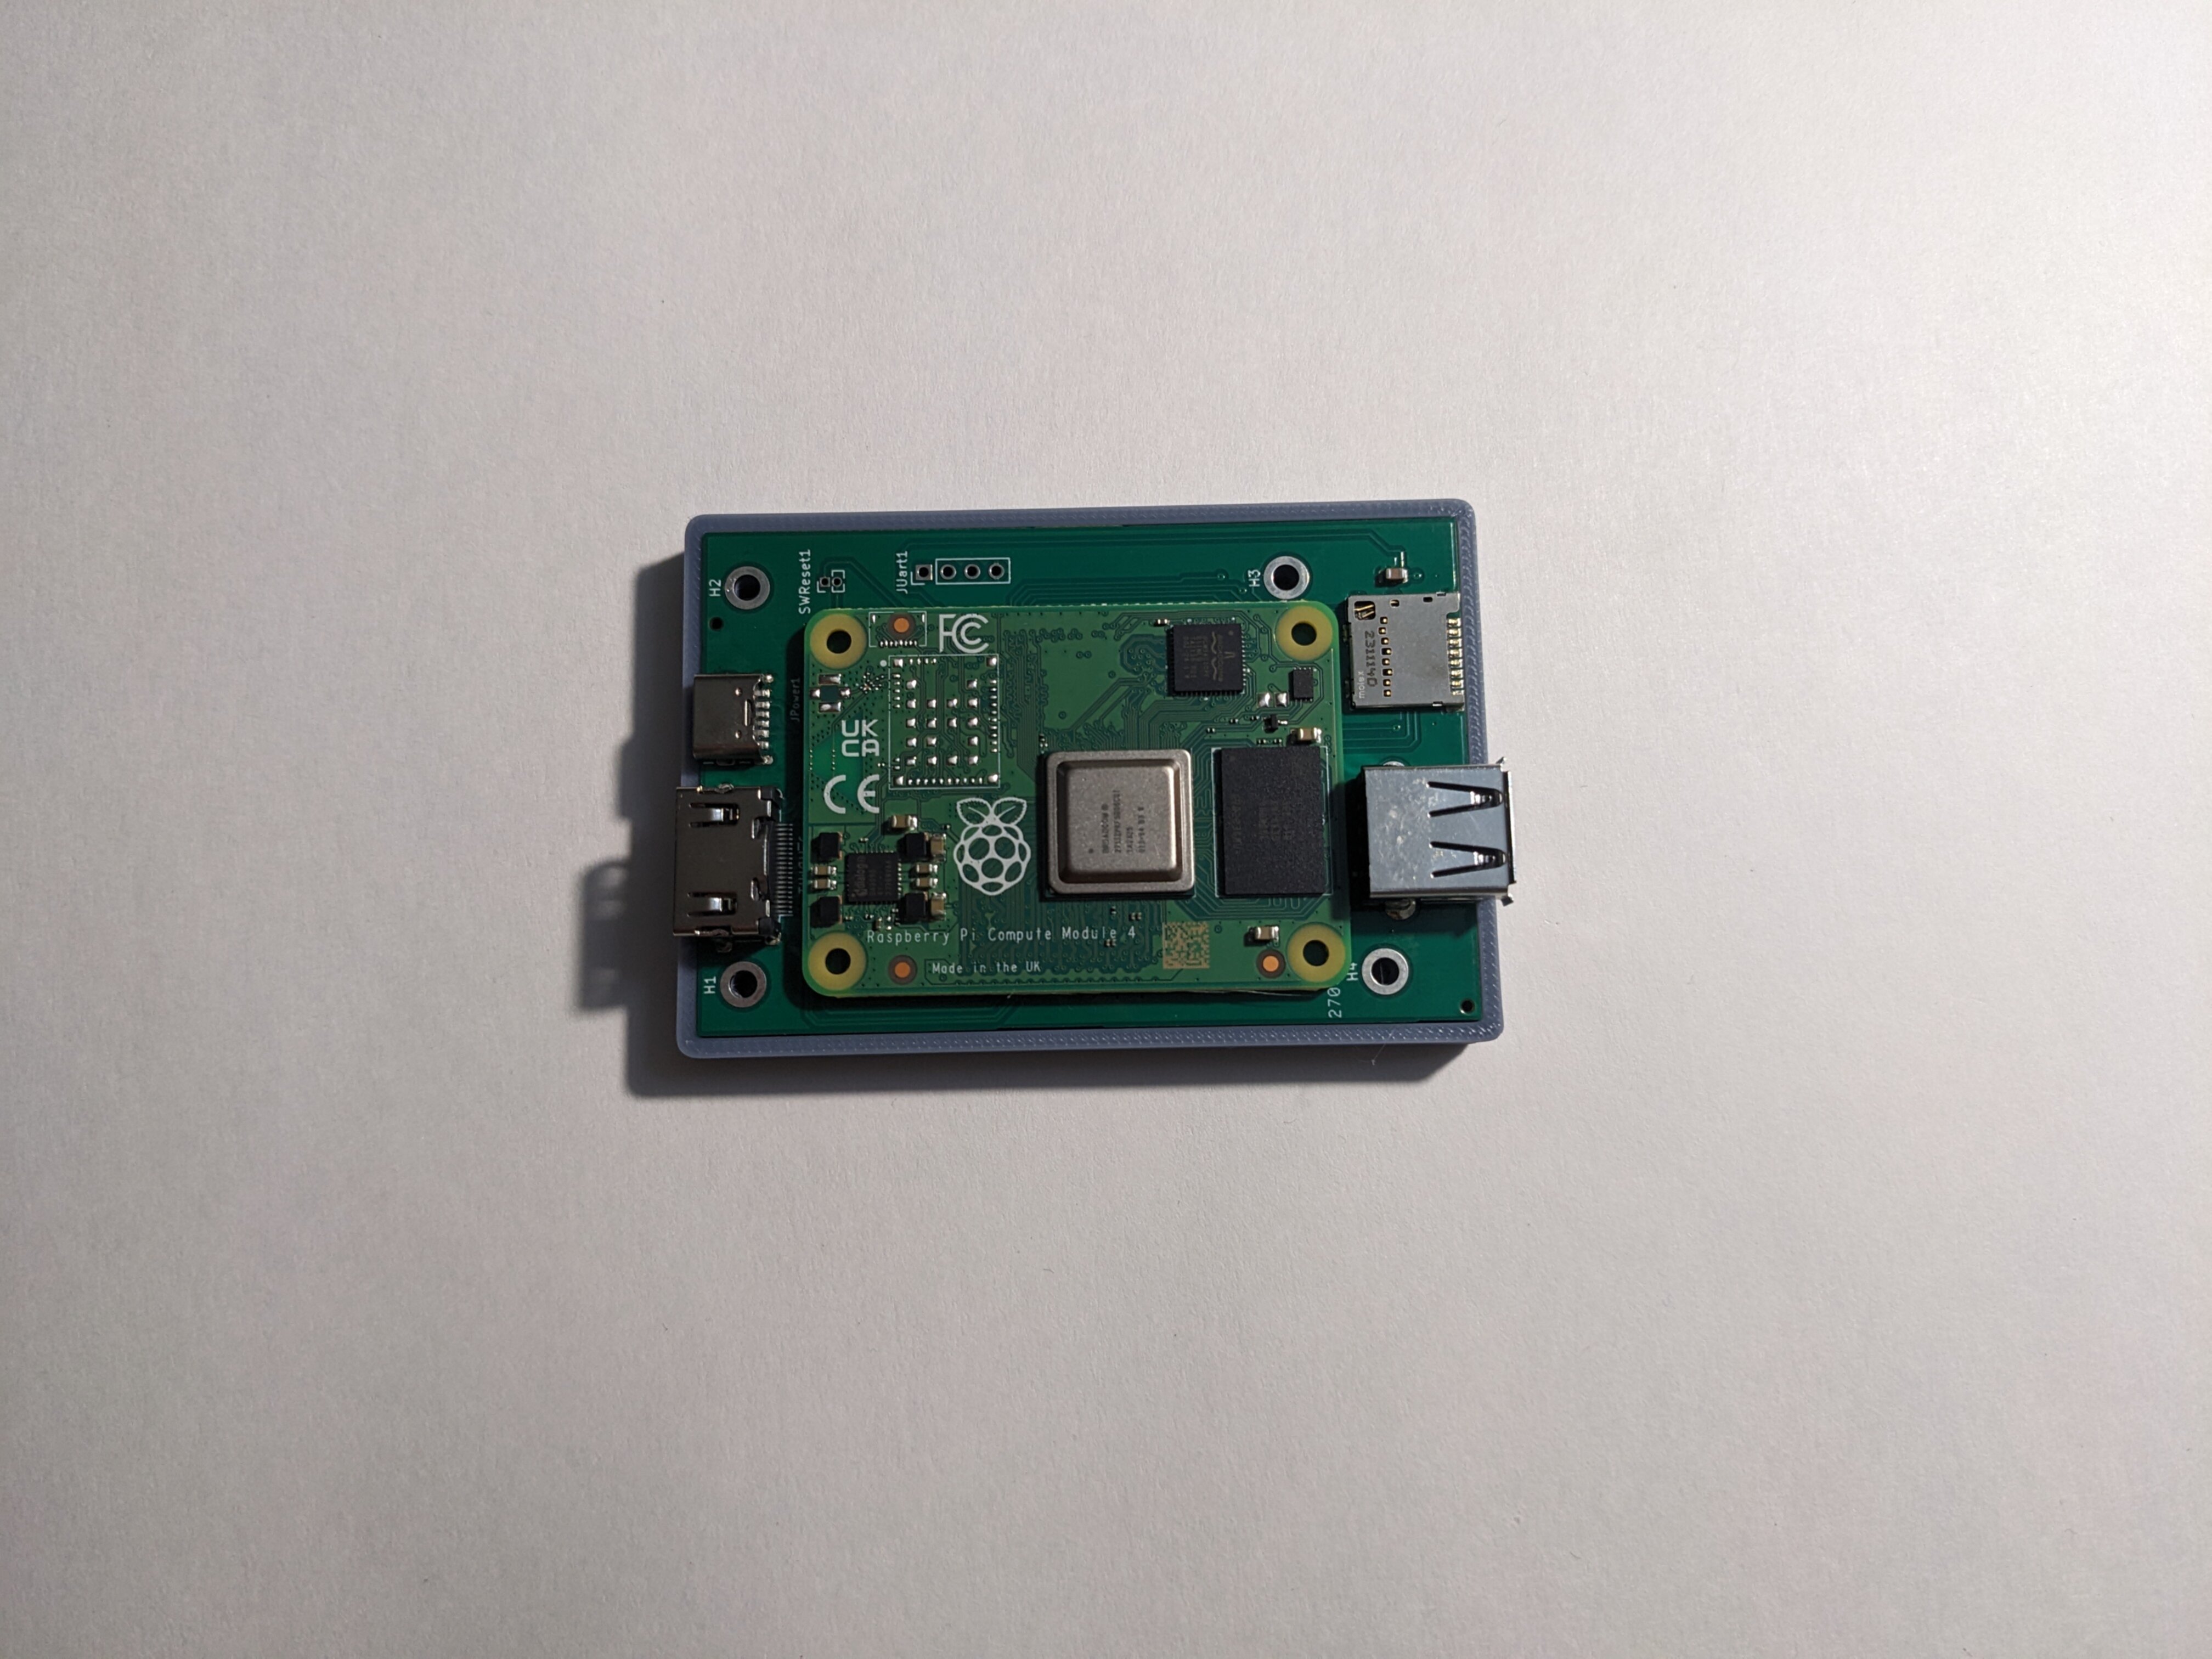
Next up we will install the compute module on to the mainboard. These connect using the two parallel “mezzanine” connectors you see in the middle of each board.
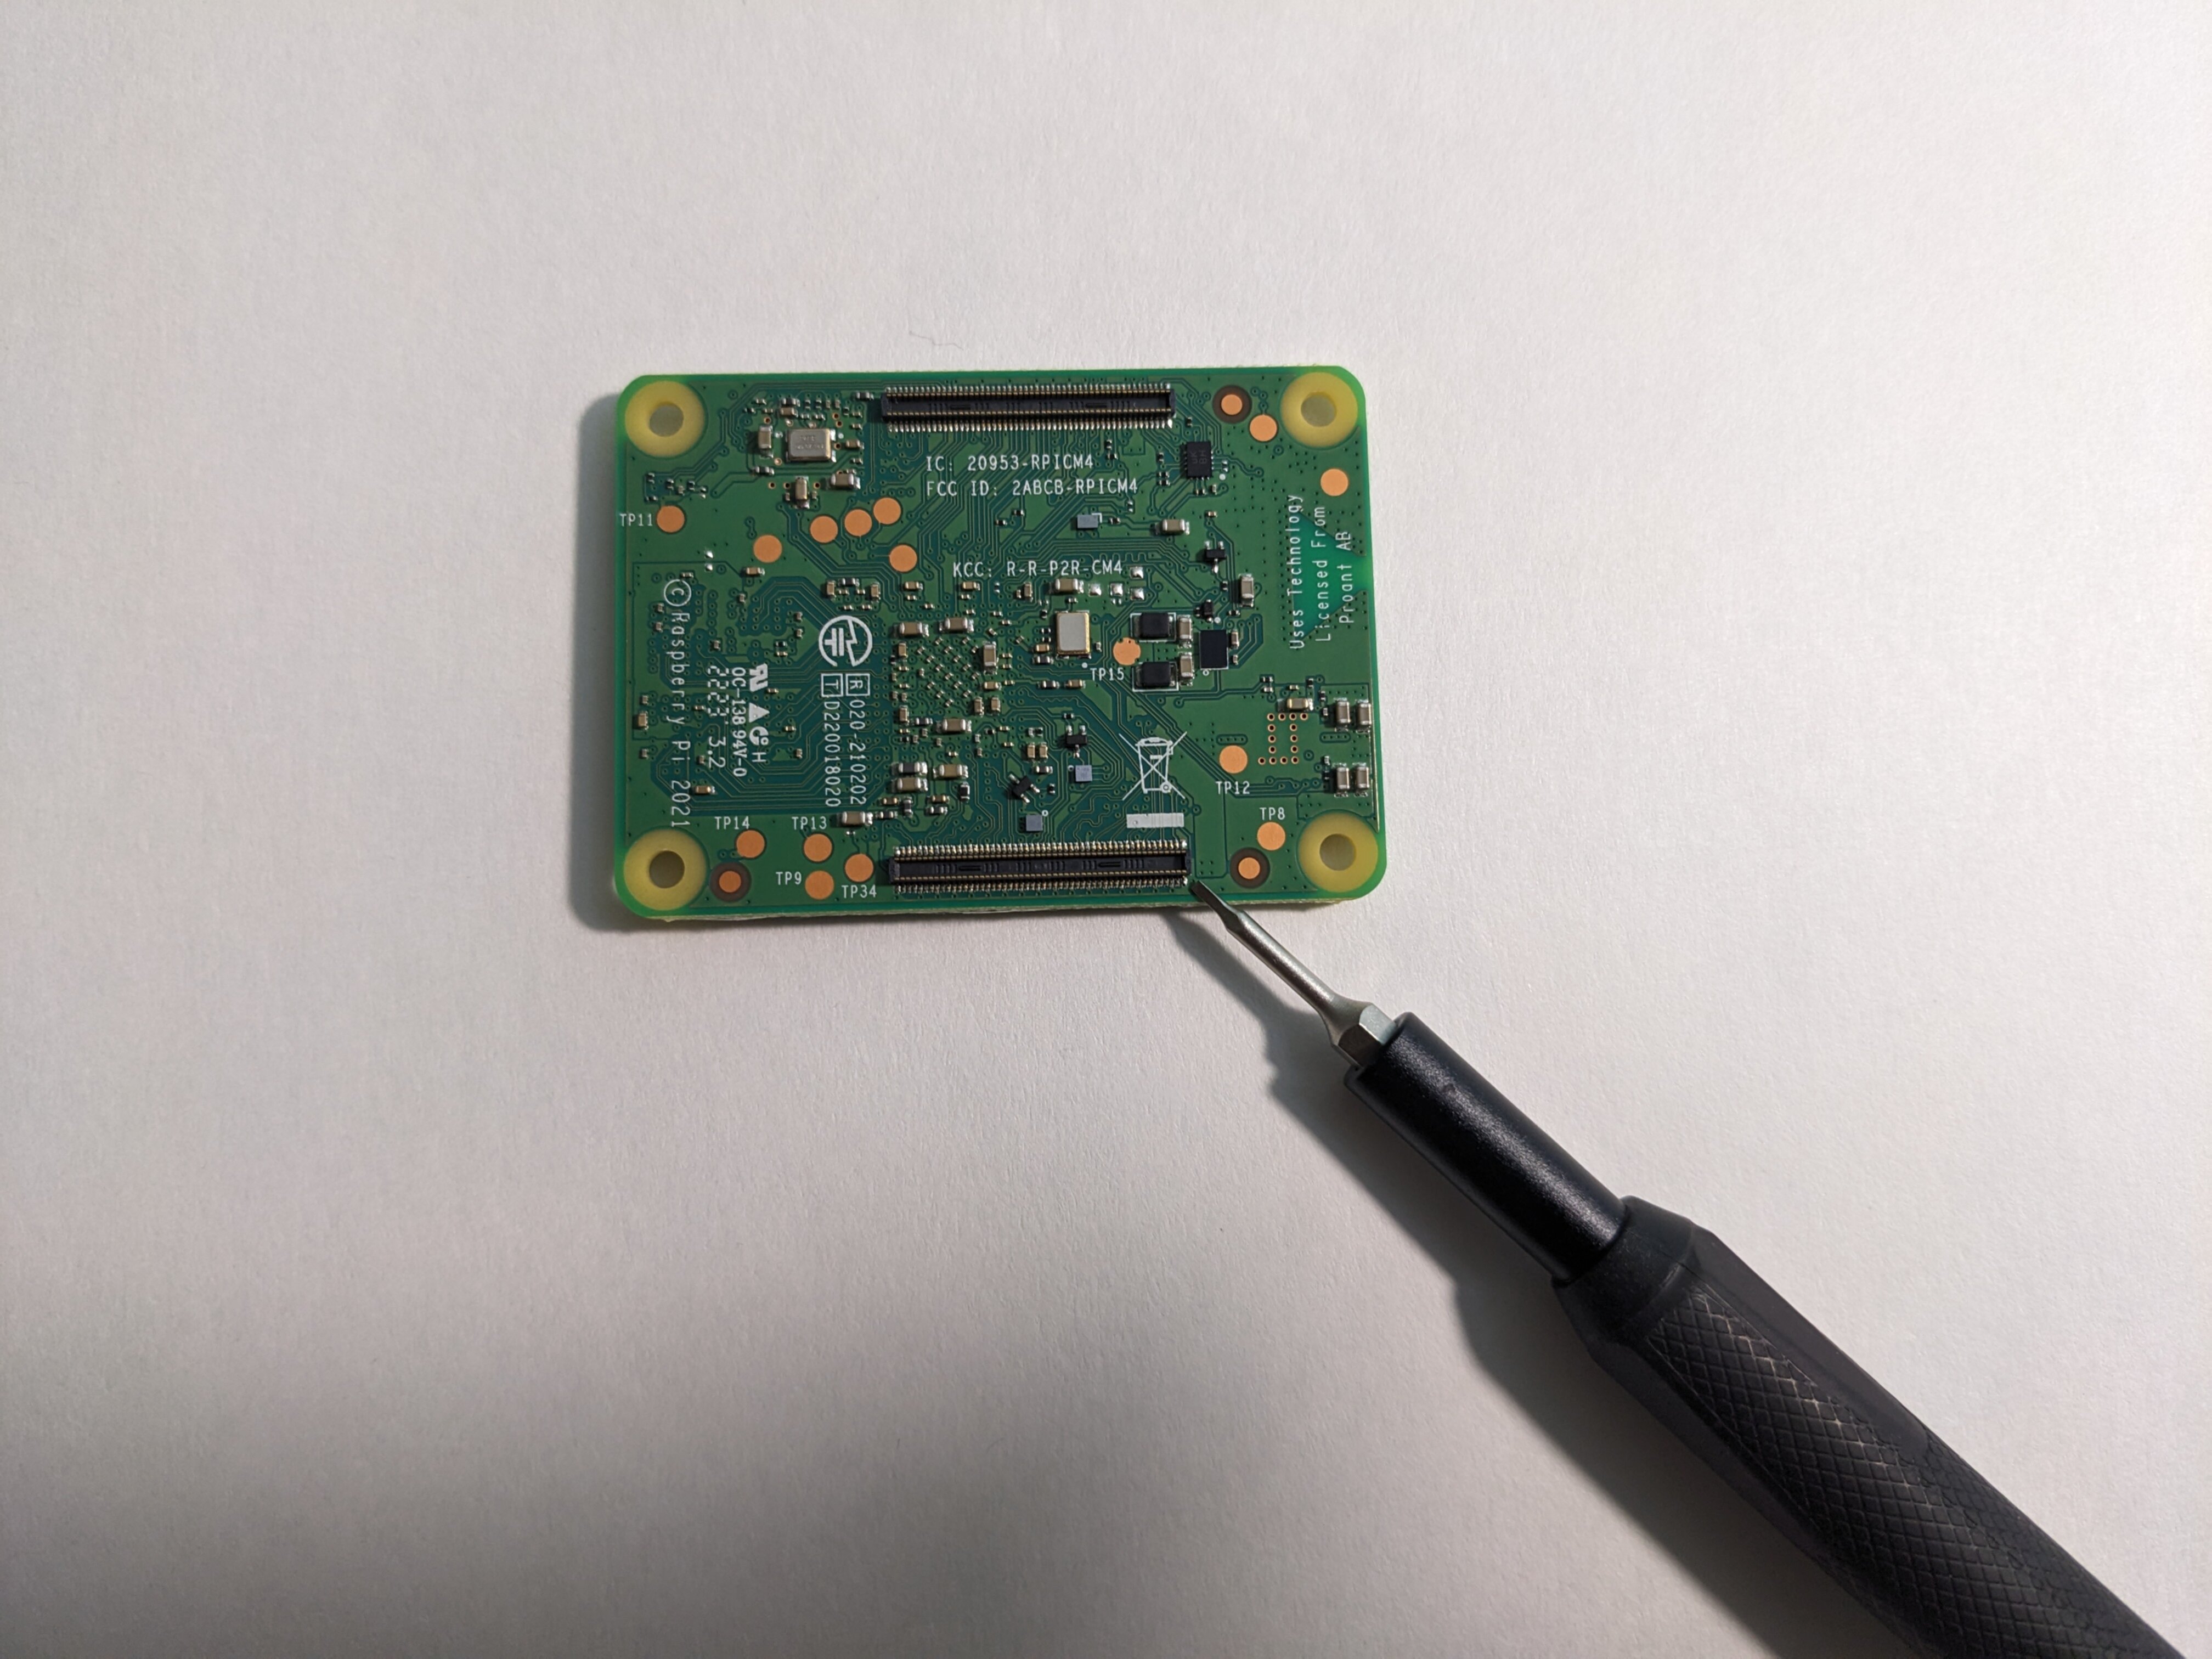
First, make sure the two boards are oriented the right way. The text on the middle of the mainboard, and the logo on the compute module, should both be facing the same direction.

Next we’ll align the connectors. Gently place the compute module on top of the mainboard, so that the connectors are roughly overlapping. When the connectors are properly aligned, you should feel the compute module drop down slightly. It will sink into place, and shouldnt slide around as easily.
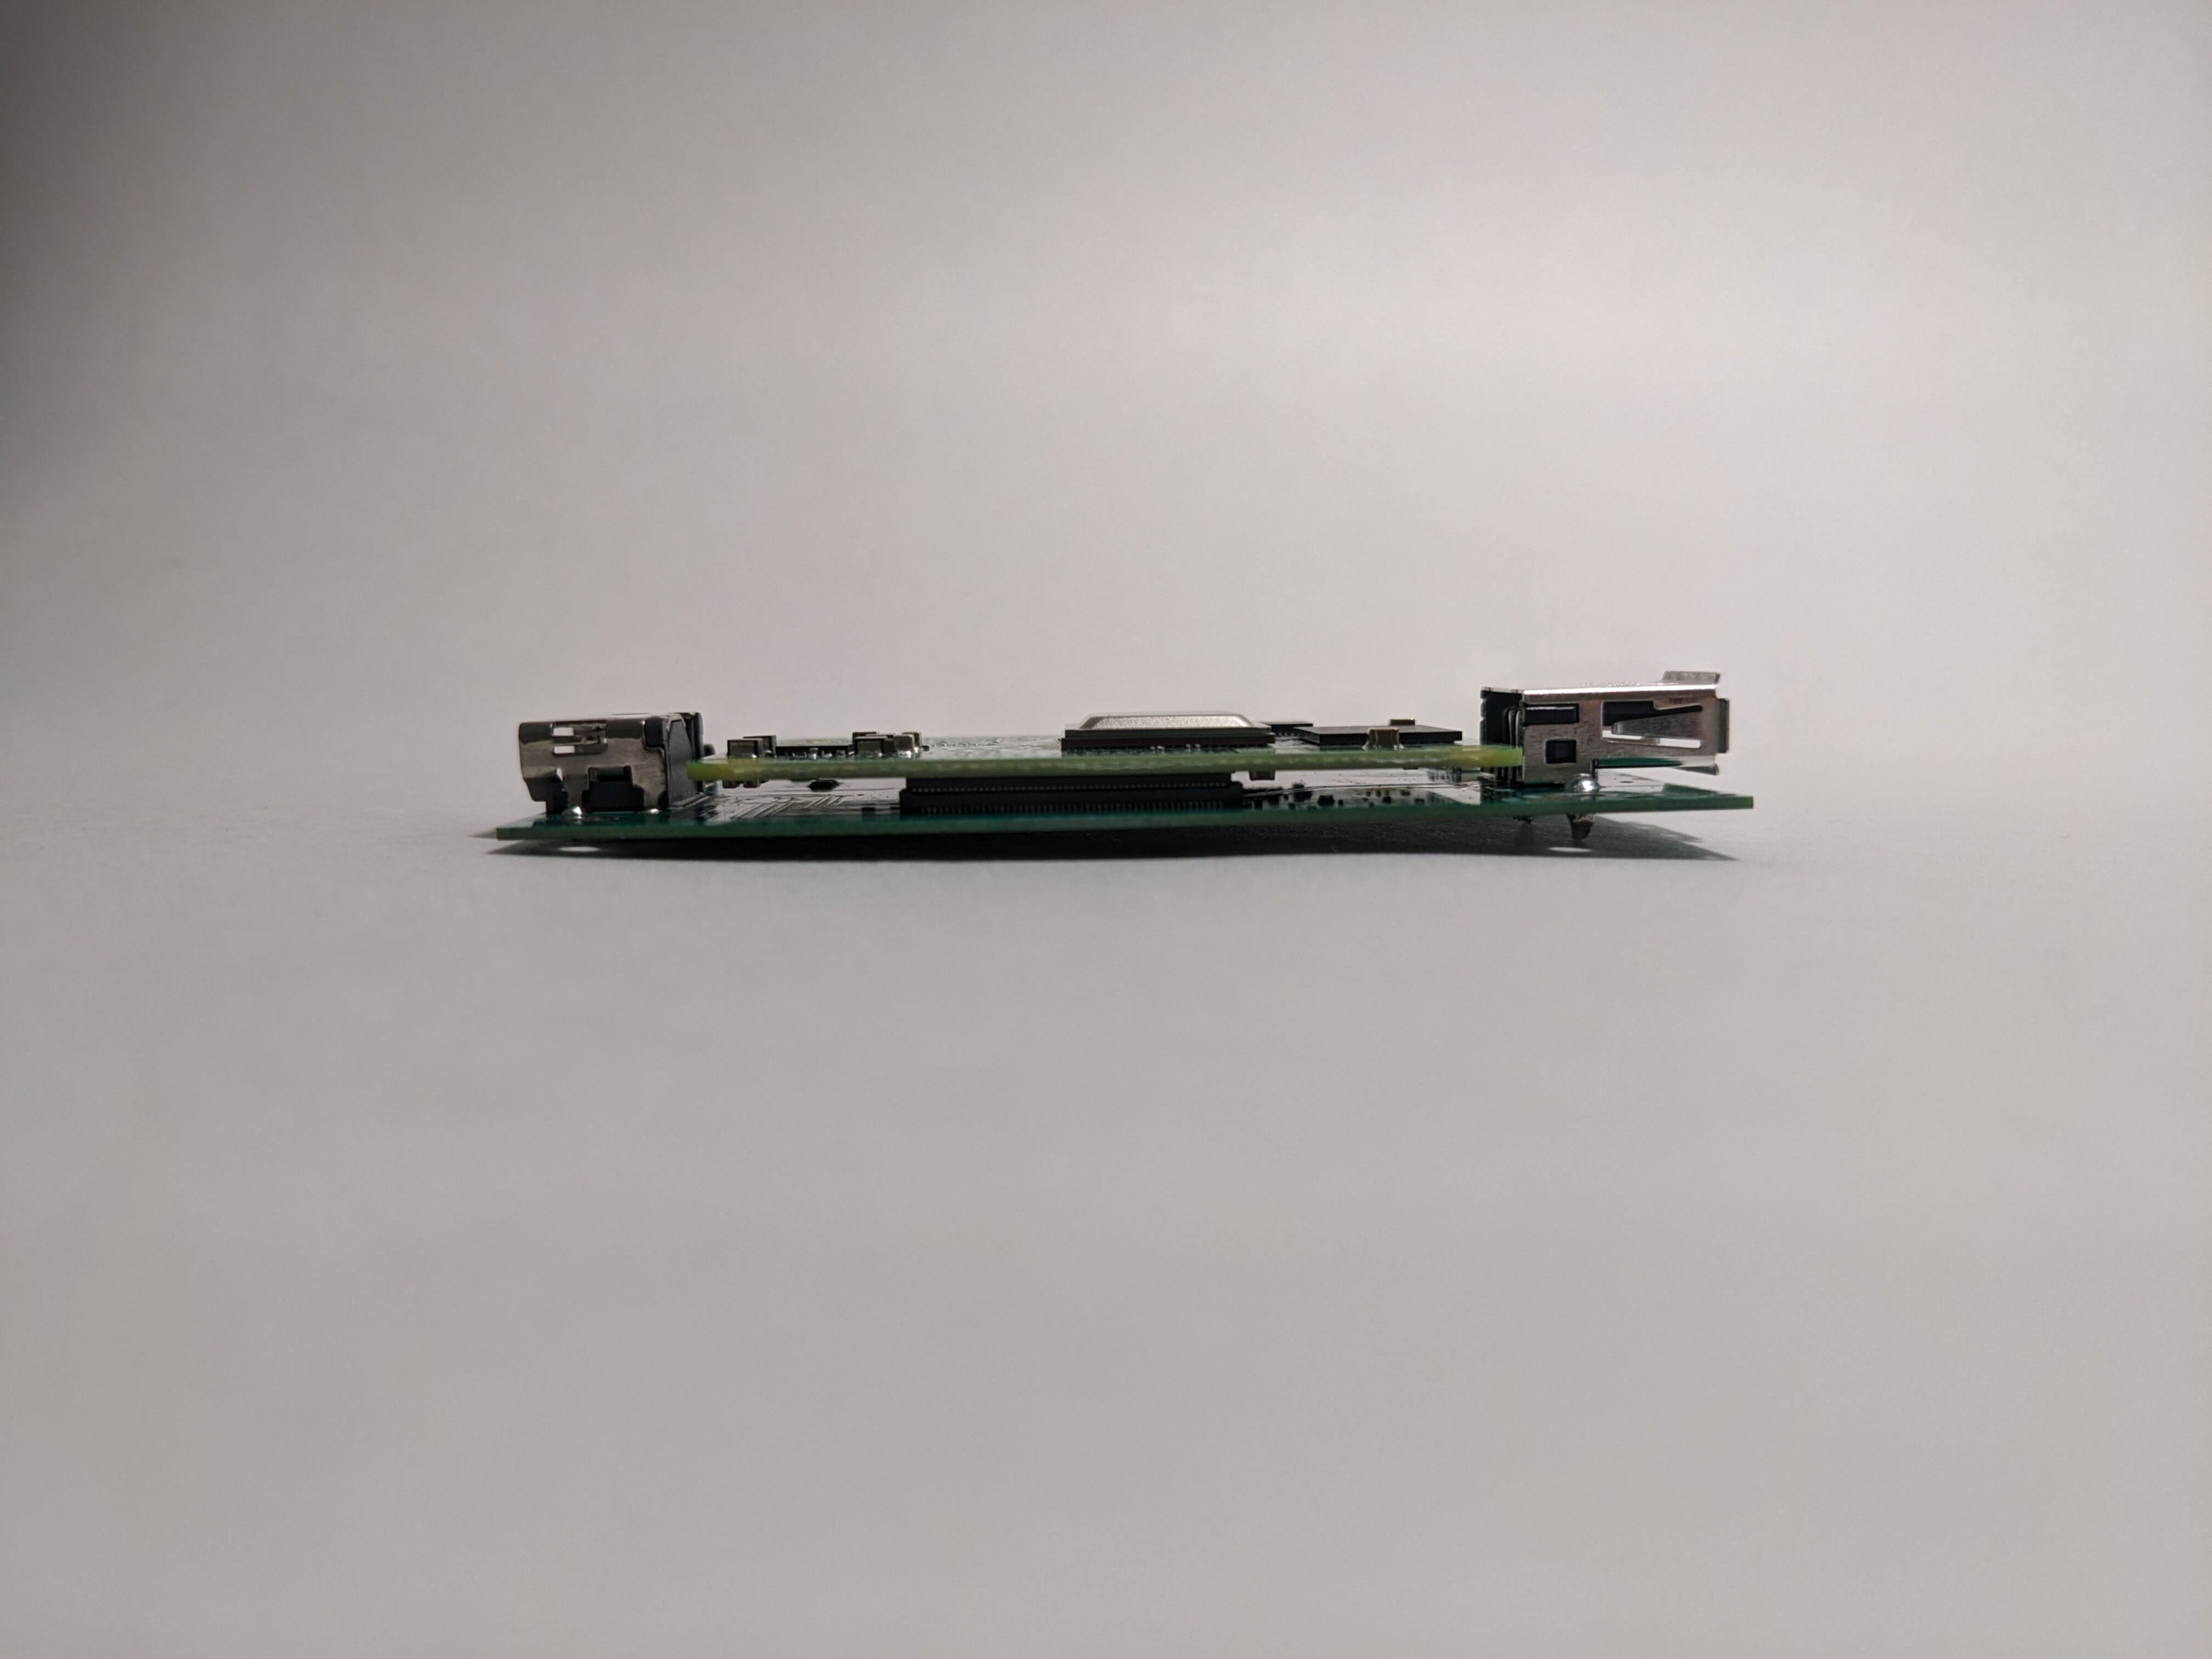
The compute module isn’t installed at this point, but the connectors should be aligned. You can double check by looking at the board from the side, and confirming that these connectors are lined up.
Finally, press firmly on the compute module to install it. We tend to press on the left and right sides of the compute module. If this doesn’t work for you, try instead pressing the top edge followed by the bottom. You should feel a little click when each connector is fully installed.
Step 3: Checking the Parallel connector
Before we package everything together, lets double check that the parallel connector was properly installed. Grab an HDMI cable, a display, and the power supply that was included in the kit. We’ll hook up the device and ensure we get video out. If not, we need to redo the previous step.
Plug the HDMI cable into both the device and your display. Make sure the pre-programmed micro sd card is plugged into your console. Then plug in the USB-C power cable. If all goes well, when your display is switched to the proper input you should see the device starting up.
If this works, unplug everything from the device and proceed to the next step. If not, return to the previous step. A common issue here is that the connectors havent been pushed down fully. You should feel a click for each of the two connectors when it is properly installed.
Step 4: Reassembly
Now that the electronic components are assembled, we can reassemble the enclosure.
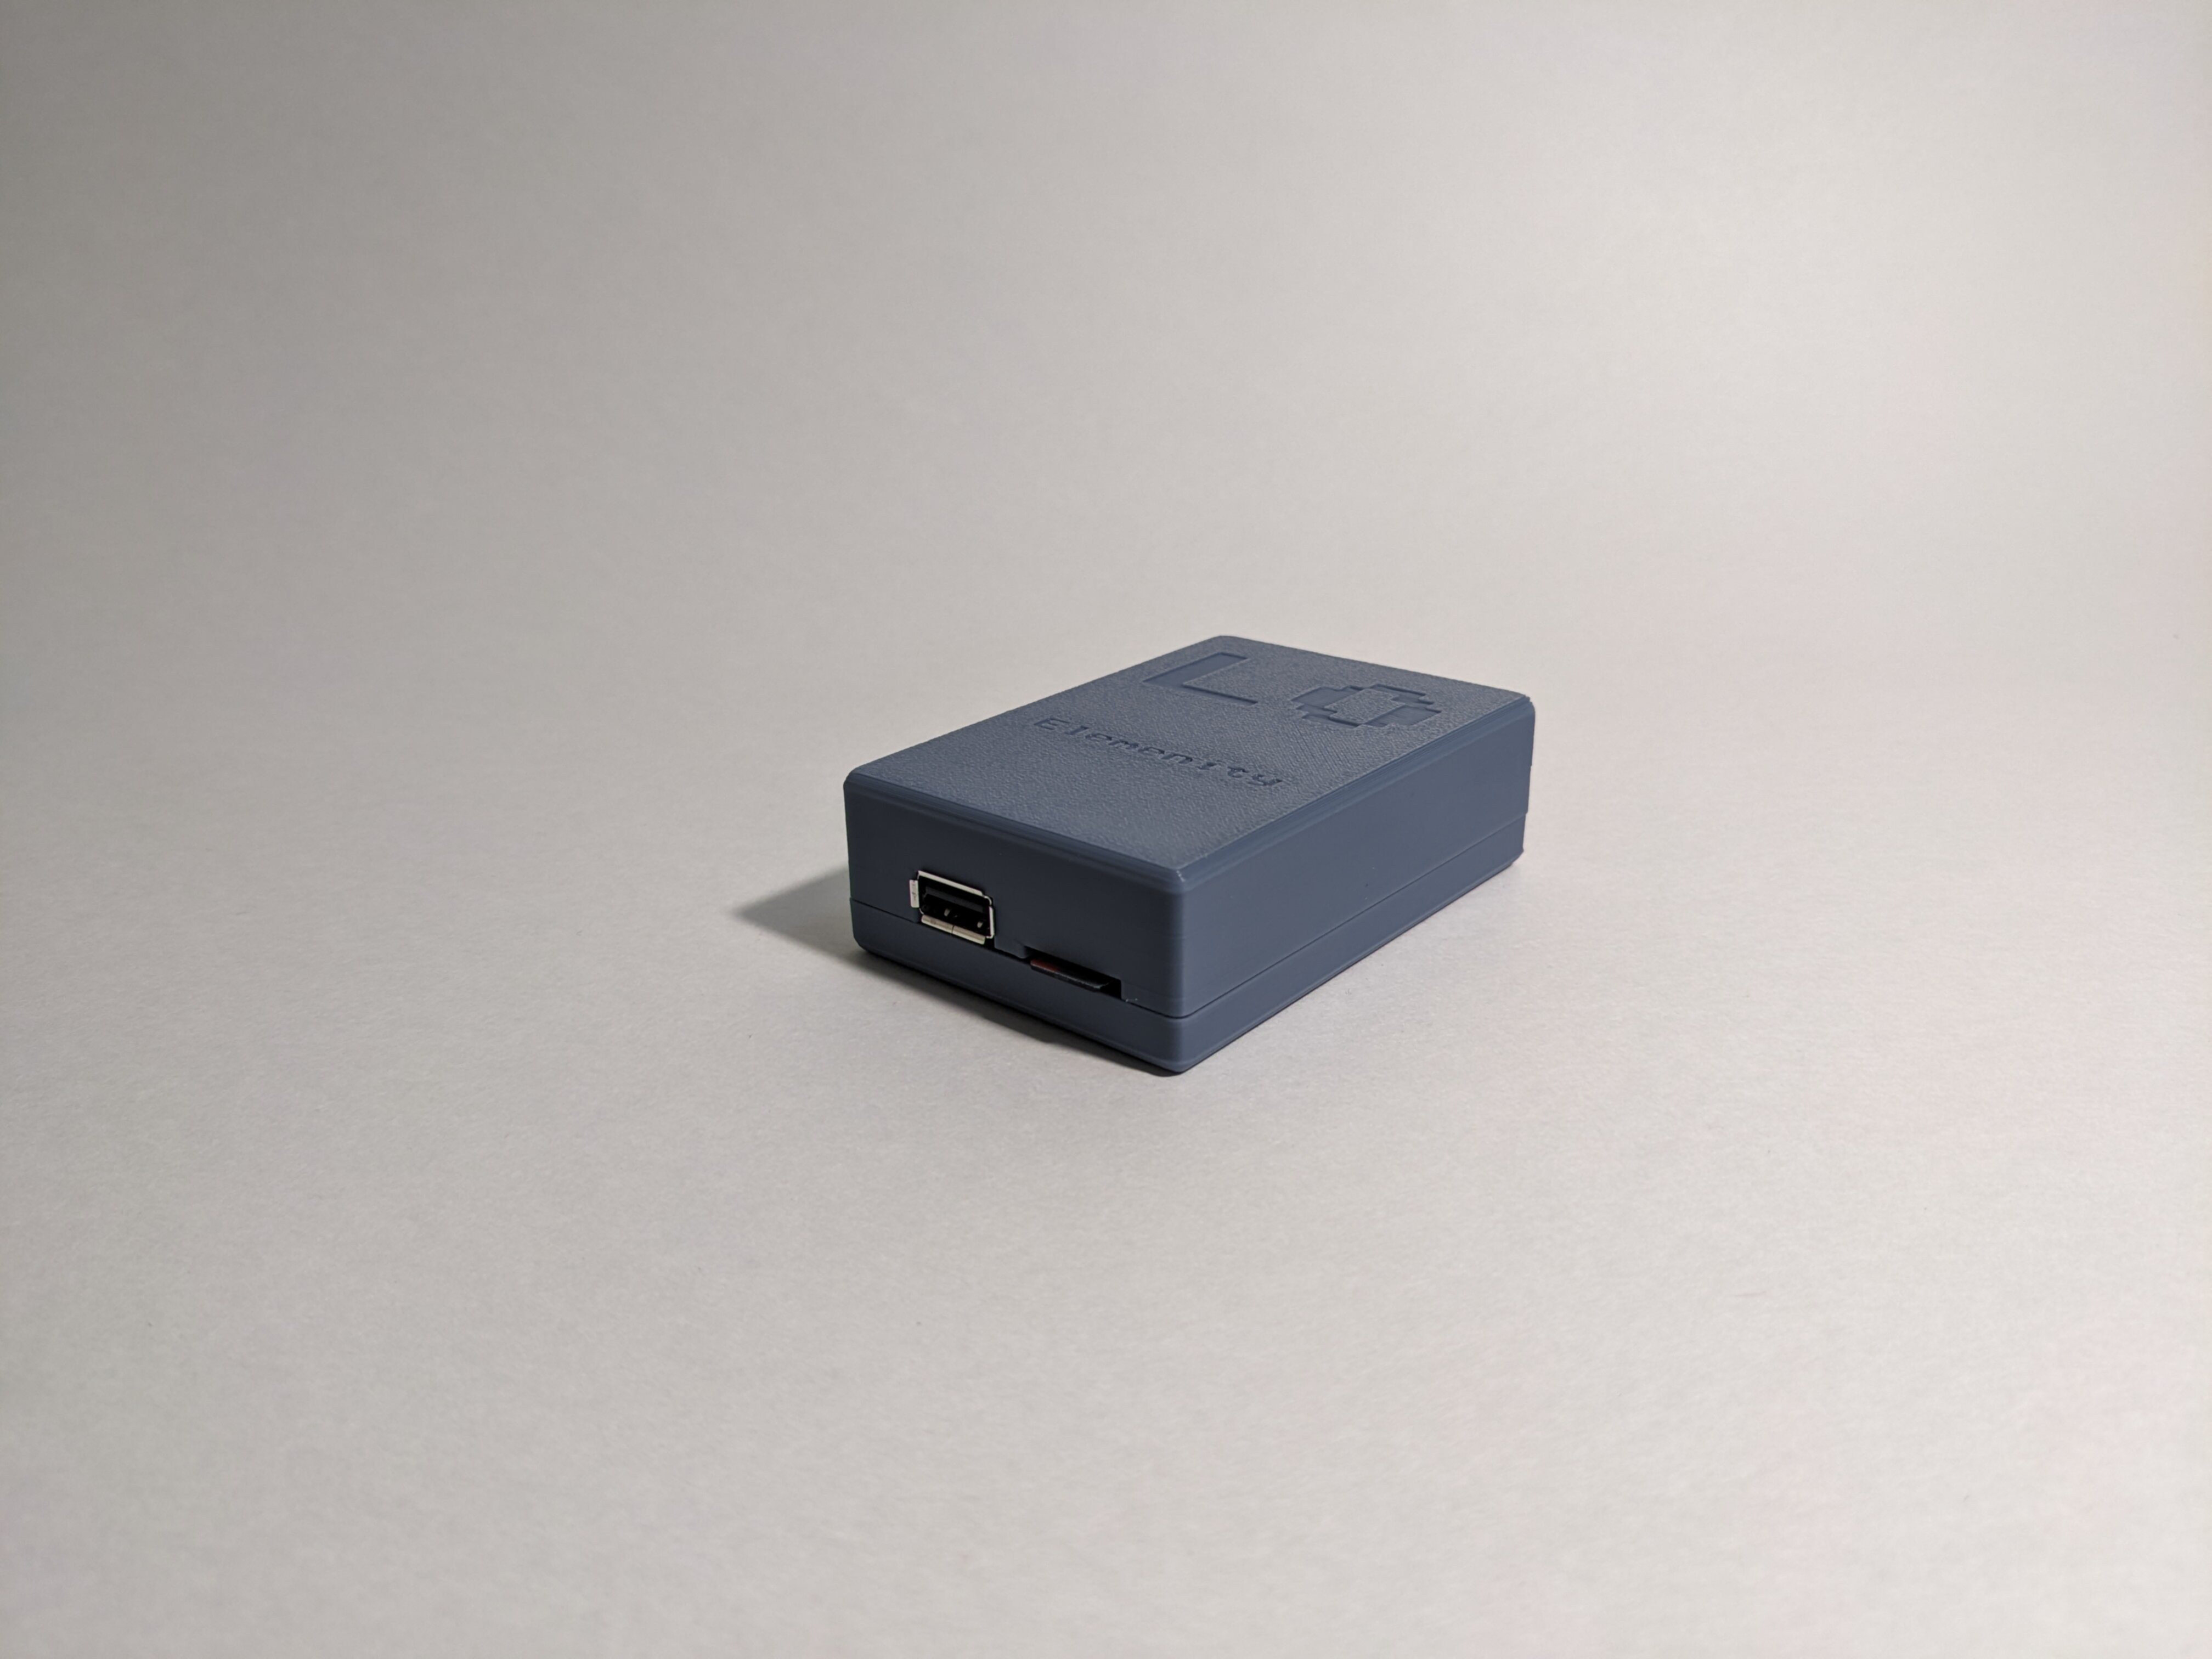
The bottom piece of the case has just enough room to fit the mainboard. Make sure the holes align. In the photo, we have the USB-A and MicroSD on the right side.
Slide on the top from above. The USB-A connector has a small lip, which will go just outside the enclosure.
Finally, flip it over and install the four screws.
Assembly Completed!
Now that your device is assembled, its time to set it up. Our L0 setup guide walks you through getting ready to game with your console.
Continue to L0 Software Setup Guide
Back to Guides